Whether you need a polished presentation or raw data for your GIS team, Transect Reports are designed for seamless integration. You can export your findings into the formats that best suit your organization’s workflow—including PDF, KML, SHP, and AutoCAD.
In this article, you'll learn how to:
- Export Map Layers
- Export PDF Reports
- Export Landowner Information
- Export Terabase Information
- Create an Export Template
Only Report Owners and Collaborators can export a Transect Report. Check out this article for more information on project-level permissions.
Exporting Map Layers
- From the Dashboard, open an existing Transect Report.
- Click the Export dropdown in the upper right corner > Map Layers.
- Drag and drop your preferred layers to the 'Selected Map Layers section', or select an export template.
- Select Generate Map Layers and choose to export to KML, SHP, or Autocad.
Your export will generate in the background and you'll receive a notification via email and the bell icon when it's complete.
Exporting PDF Reports

- From the Dashboard, open an existing Transect Report.
- Click the Export dropdown in the upper right corner > PDF.
- Drag and drop your preferred layers to the 'Selected Report Layers section', or select an export template.
- Select Generate PDF.
Your export will generate in the background and you'll receive a notification via email and the bell icon when it's complete.
Looking to create a custom PDF map to include in your export? Click here to learn how!
Exporting Landowner Information
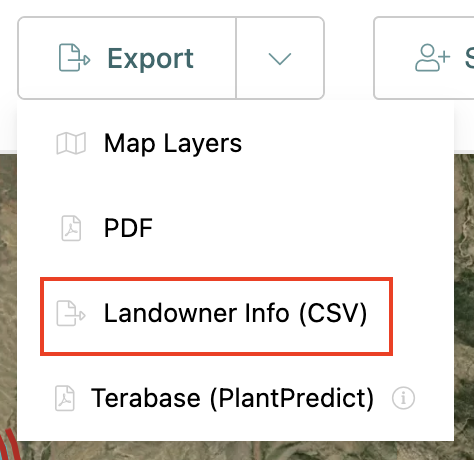
- From the Dashboard, open an existing Transect Report.
- Click the Export dropdown in the upper right corner > Landowner Information (CSV).
Your Landowner export will automatically be downloaded to CSV format.
Exporting Terabase Information
Once you've created a Buildable Area, you can export it to Terabase for additional due diligence.
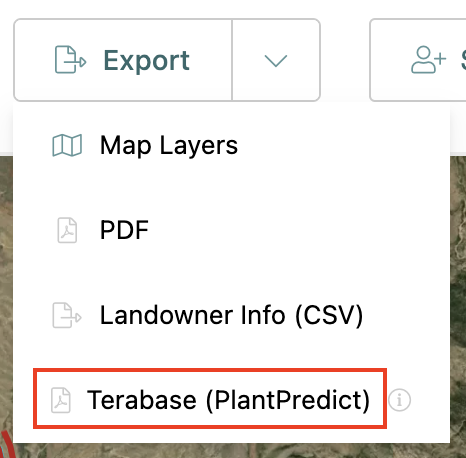
- From the Dashboard, open an existing Transect Report.
- Click the Export dropdown in the upper right corner > Terabase (Plant Predict).
A KML containing your AOI's buildable area will automatically be downloaded that can then be uploaded to Terabase.
Creating an Export Template
To streamline your workflow, you can save your preferred layer configurations as a custom template. Once saved, these layers will be automatically included in every export, saving you from repetitive manual setups.

- To create a template:
- Click the "Select or create a template" dropdown and select Create Template.
- Drag and drop your preferred layers to the "Selected Map Layers" section.
- When finished, enter a template name and then select Save Template.
- To edit a template:
- Select the applicable template from the dropdown.
- Click the pencil icon to enable editing mode.
- Drag and drop any additional layers, or modify the template name.
- When finished, select Save.
- To delete a template:
- From the dropdown, hover over the applicable template.
- Select the trash can icon and confirm the deletion by selecting Delete Template.
Your account administrator can enable template sharing by following the steps in this article. Alternatively, feel free to reach out to our support team, and we’ll be happy to get that set up for you.