Transect's Map Layer Manager simplifies adding and removing layers, allowing you to focus on only the most relevant ones.
In this article, we'll review how to:
- Add Map Layers
- Remove Map Layers
- View and Favorite Map Layers
- Set your Topmost Layer
- Request a Data Layer
Getting Started
Start by selecting the Map from the top navigation bar. Within the Map Layers widget, click Add/Edit Layers to see all available layers. New layers are shown on the left and your selected layers are on the right.

Adding a Map Layer

- Within the Map Layer Manager, click a category dropdown to view all of the layers or use Search Layers to type keywords.
- Drag and drop your preferred layers to the 'Your Selected Layers’ section.
- When finished, click Save.
Removing a Map Layer

- Within the Map Layer Manager, click a category dropdown to view all of the layers or use "Search Layers" to type keywords.
- Drag and drop the layer you want to hide from "Your Selected Layers" into “All Available Layers.”
- When finished, click Save.
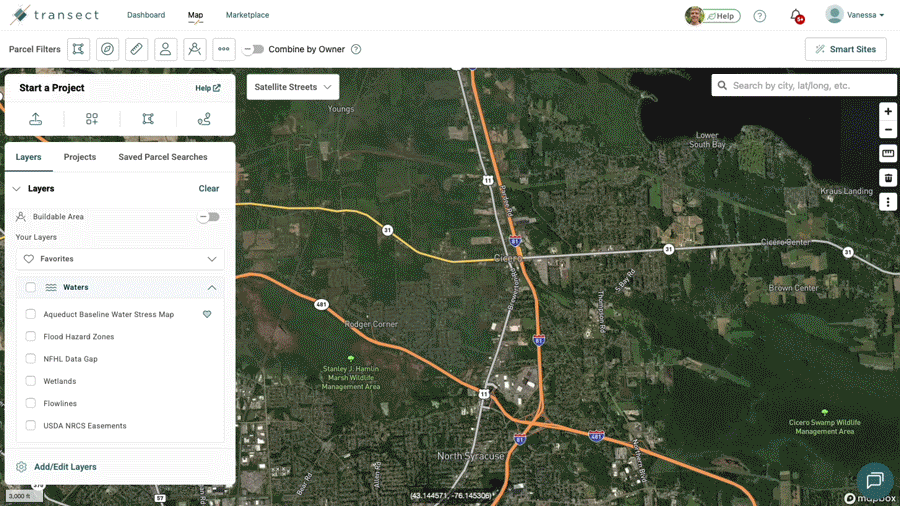
Viewing and Favoriting Map Layers

- Within the Map Layers widget, activate a layer by selecting the checkbox, or deactivate a layer by deselecting the checkbox.
- When hovering over a layer, click the heart icon to add it to your favorites. Favorited layers are shown at the top in the "Favorites" section.
- You can easily reorganize how the layers are listed by dragging and dropping them to your preferred location.
Setting your Topmost Layer
You can reorder layers to set the topmost layer, allowing you to control the visual hierarchy of your map and to ensure the most crucial information is always on top.
- Within the Map Layer Manager, hover over the preferred layer.
- Select the 6 dot handle and drag and drop that layer to the top of the list.
You can reorder all layers within a category and also reorder all categories.
Requesting a Data Layer Upload
If your file is smaller than 100MB, please follow the steps to upload a custom map layer. If your layer is larger than 100MB, you can request a new map layer by contacting support@transect.com. We will provide an import request form where you can specify your attributes and GIS data. Please ensure that your data layer does not exceed 200 MB and is in one of the following formats:
- Geodatabase (.gdb)
- Shapefiles (folder containing a .shp)
- Geopackage (.gpkg)
- GeoJSON (.json or .geojson)
- CSV files or spreadsheets with latitude/longitude coordinates for point features.
- KML/KMZ files (may result in longer processing times).
Please note that the typical processing time is about 8 weeks if a GIS file is provided.